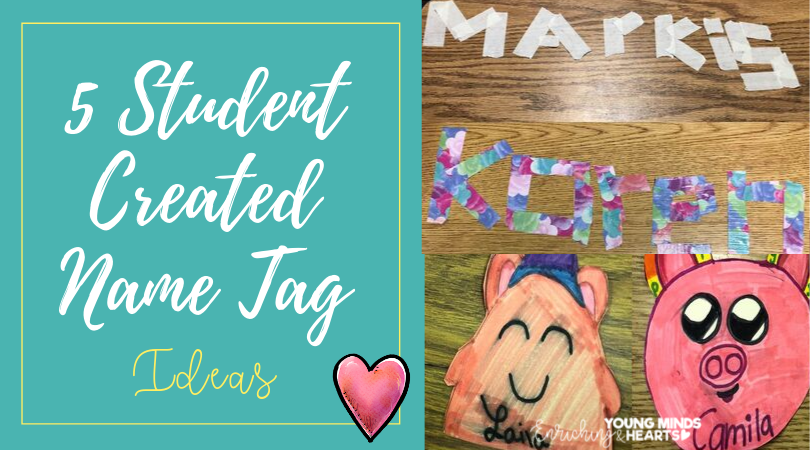
After almost two decades of writing out a name tag for every student, every year, I was ready for something different when I moved up into the world of upper grades. I wanted to take a new approach with different, creative ways that my students could create their own name tag. It would allow them to take ownership over their own learning space. Besides, I had also joined the world of flexible seating. I wanted an option that was not necessarily taped down to a particular space, and did not restrict students to one table or desk. I needed something that could easily be moved from one place to another.
Here are five ideas for putting the locus of control back into your student’s hands, and allowing them the freedom to design and create their own name tags. Each idea serves its own purpose at one time or another. Each one can be used by itself or in conjunction with the other ideas at different times in the year. I will explain when and how I used them as I began my student-centered upper grade journey.
1- Dry Erase Marker
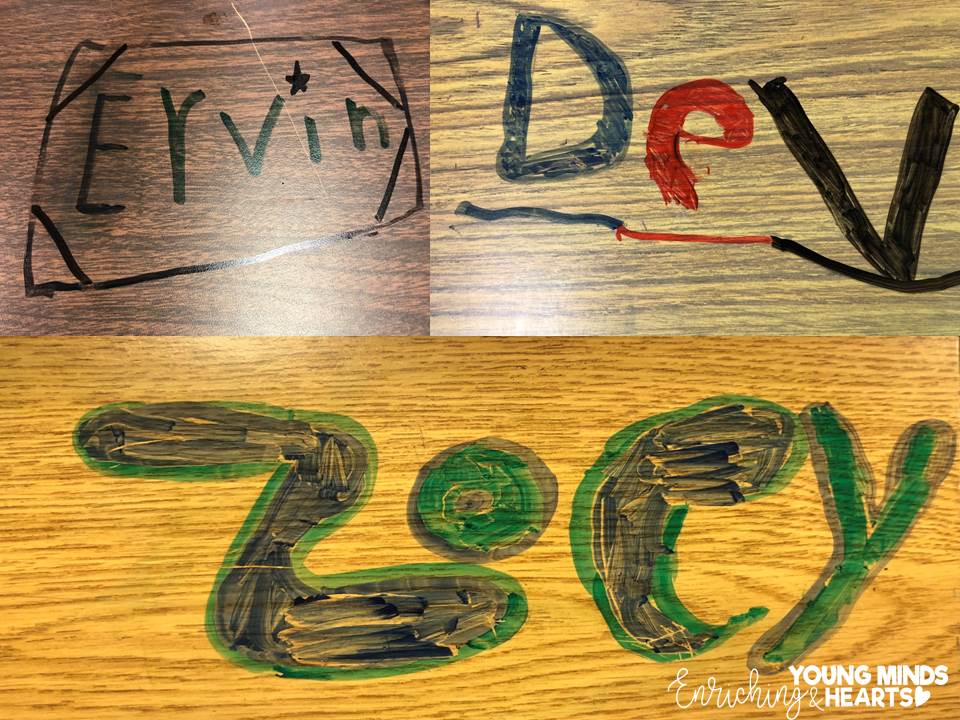
Using dry erase markers is by far the easiest name tag method, and students love it! I mean, who doesn’t love the opportunity to write directly on furniture?! I discovered this name tag opportunity quite by accident (or you could call it luck). As a member of the flexible seating community, I needed a way for my students to choose where they were going to sit on the first day of school.
In primary grades, I would have their name tags all nicely printed and ready to go. When my students came in for Meet the Teacher Night, they would take their name tag and place it on the spot where they wanted to sit. Knowing that I didn’t want to use pre-written name tags with my fourth graders, I needed a quick and easy way for my students to claim their desk. As I scanned the room for an idea I saw it…dry erase markers! They were perfect for what I needed, and it gave my students a quick glimpse into what life in fourth grade would be like…FUN!
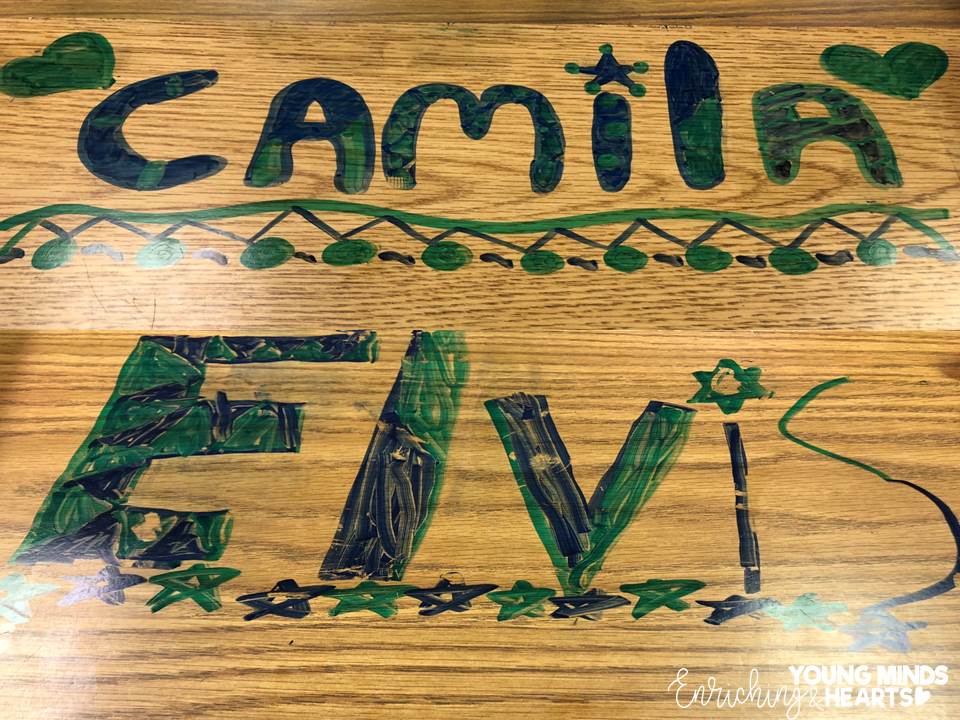
There is a downfall with using dry erase markers. They rub off. Depending on your group of students this may or may not be an issue. Although, it does only takes a few seconds for them to rewrite their name when needed. It can also provide many opportunities for student creativity. (I noticed a theme as a I was uploading the pictures below. It may be a little obvious that we are all Seahawk fans! haha).
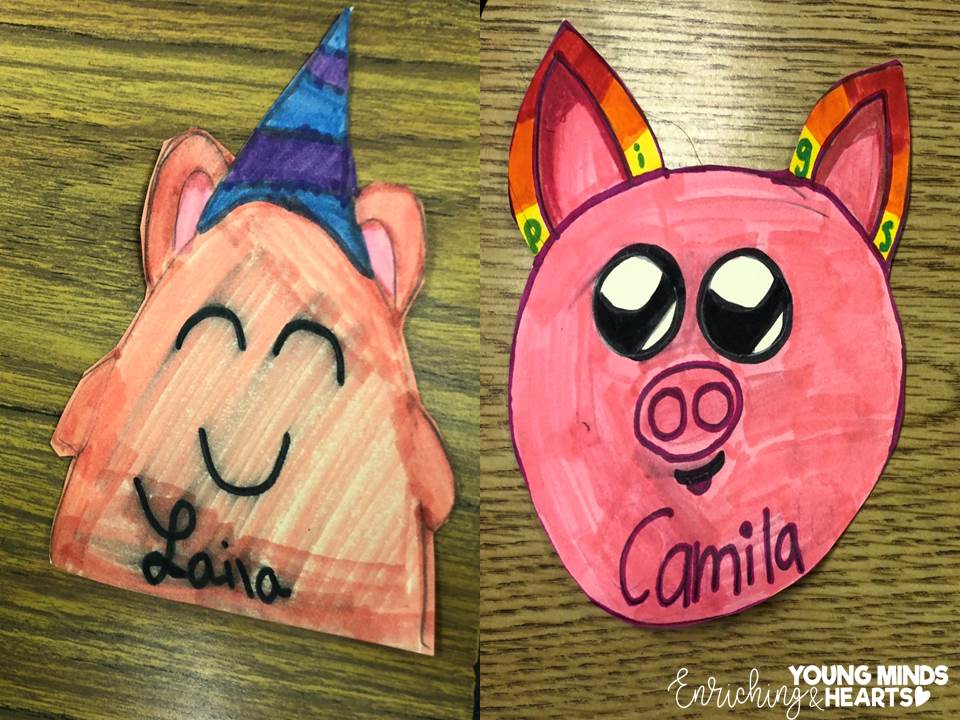
2- Name tent
After the novelty of the dry erase marker name tags wore off, it was time to move to a more tangible name tag. It was still the first week of school and we were continuing to participate in ‘get to know you’ activities. That’s when the name tent came into play.
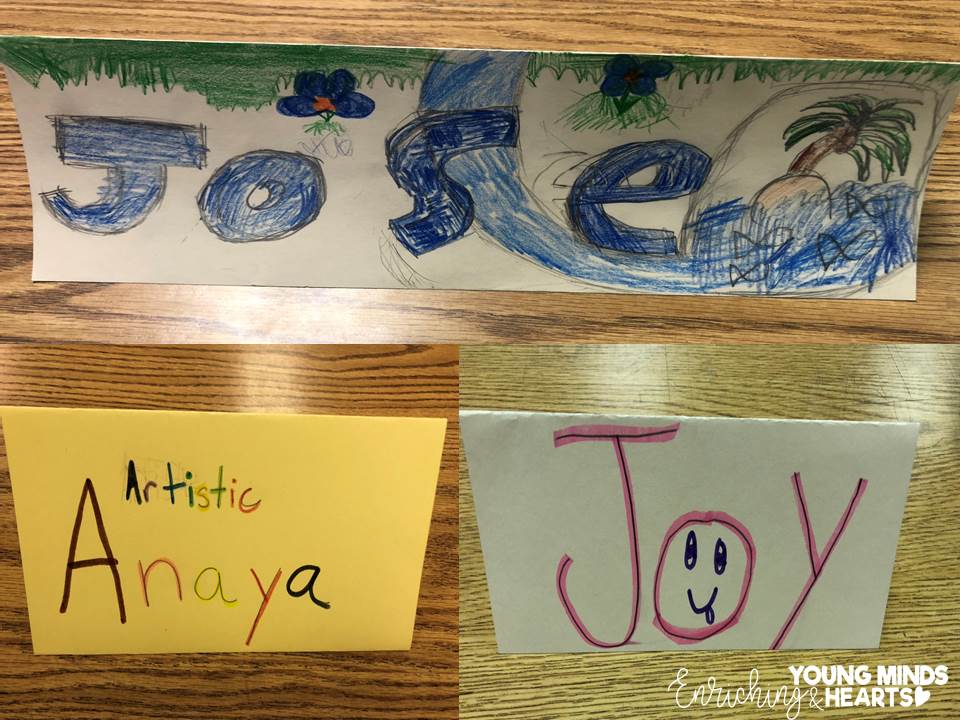
Name tents are a fairly common practice for name tags in the classroom. The way you make if different and creative is through how you use the tent. It’s the way you fold it and the things you have your students write on each side that can make it unique and creative. If this is the only option you use all year, you can continually change it up each time your students make them.
You can fold it in half and have them write something different on each side, or you can trifold it so they can write on all three sides. My students tended to prefer the trifold as they got to put something hidden or secret on the bottom section.
This type of name tag is easily moveable and great for flexible seating!
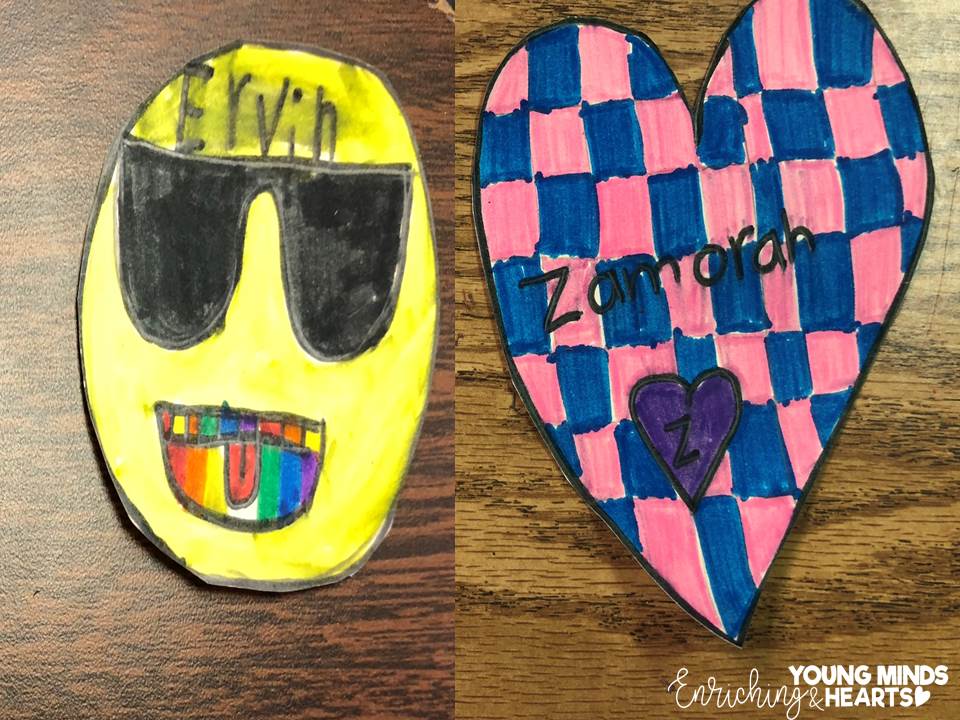
3- Name shapes
By the end of winter break I was ready for something different. The name tents were getting warped and needed to be retired. Before flexible seating days, January was the time I always rearranged the seating chart and came back from break with a fresh start in the classroom. Since the seating arrangement is constantly changing, this was a great time to have a different change; name tags.
When I am fresh out of ideas, I always go to my students for suggestions. For one, they have GREAT ideas! For another, it’s an easy way for them to take ownership over their learning. They have more buy-in if it’s their idea. This is how ‘name shapes’ came to be. One of my students suggested that we each create a shape of our choice and put our names in it. That way our personalities could shine and we could incorporate some creativity. It was an instant hit with the other students and what we ultimately decided to go with. The results were amazing!
I did tape these down, but only with tape on the reverse side, so that they can easily be peeled up and moved if my students choose to sit in a different space.
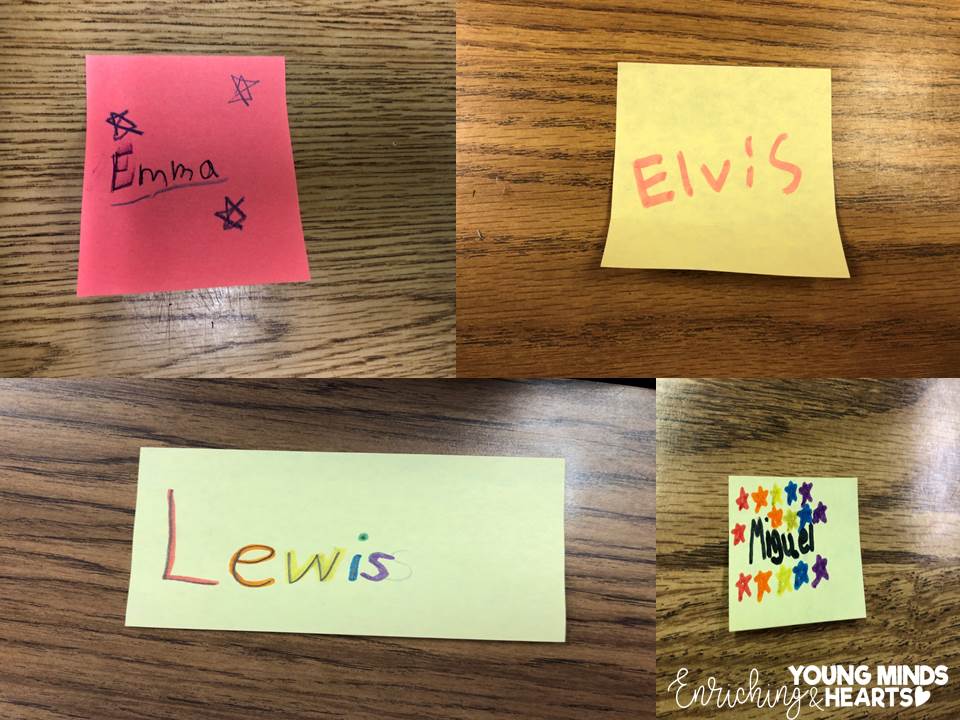
4- Sticky notes
The sticky note method for name tags is especially great for flexible seating as students can take their name tag with them wherever they go. Since sticky notes come in a plethora of sizes and colors you can mix it up and incorporate some student choice and creativity.
These name tags do tend to get worn out more quickly than some of the other options, but are also cheap and easy to replace!
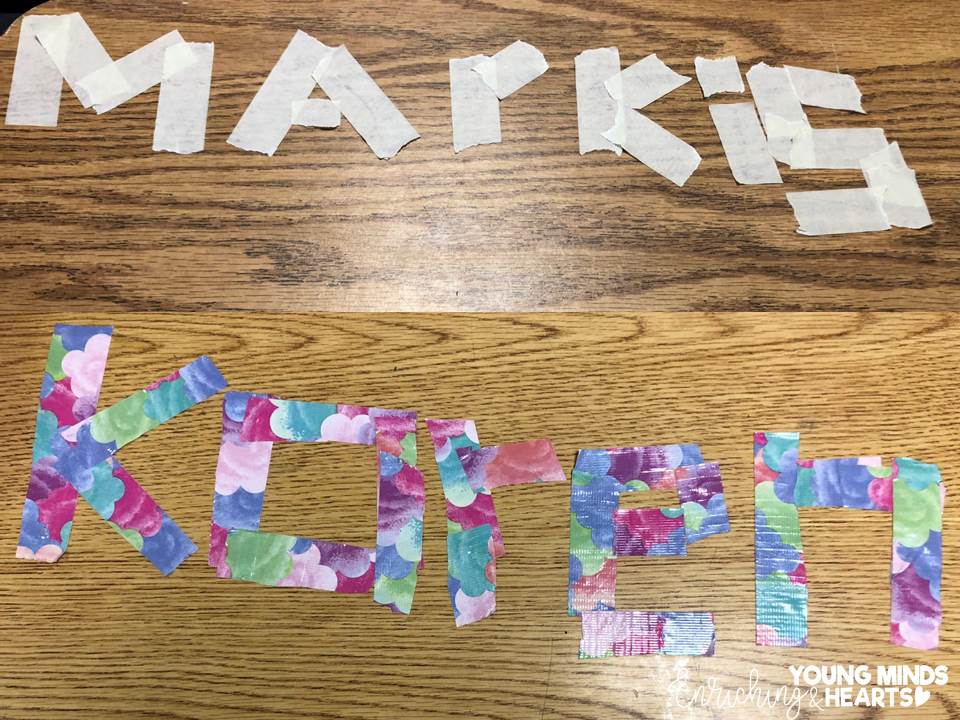
5- Tape
Using tape is an idea that can be a bit tedious, but is a great tactile way for students to create their name tag. Now that tape also comes in a variety of types, sizes and colors, there is an endless amount of possibilities for students to make their learning space their own.
This idea does limit students to one learning space, so it would not work well for those who use flexible seating, but is great for those who don’t!


